Sunday 27 February 2011

Front Door Insulation

I am on a mission to make my van as quiet inside as possible.  The work done in the rear has done a lot of good things making it night and day difference from the only empty van.  However, there is more to be done!

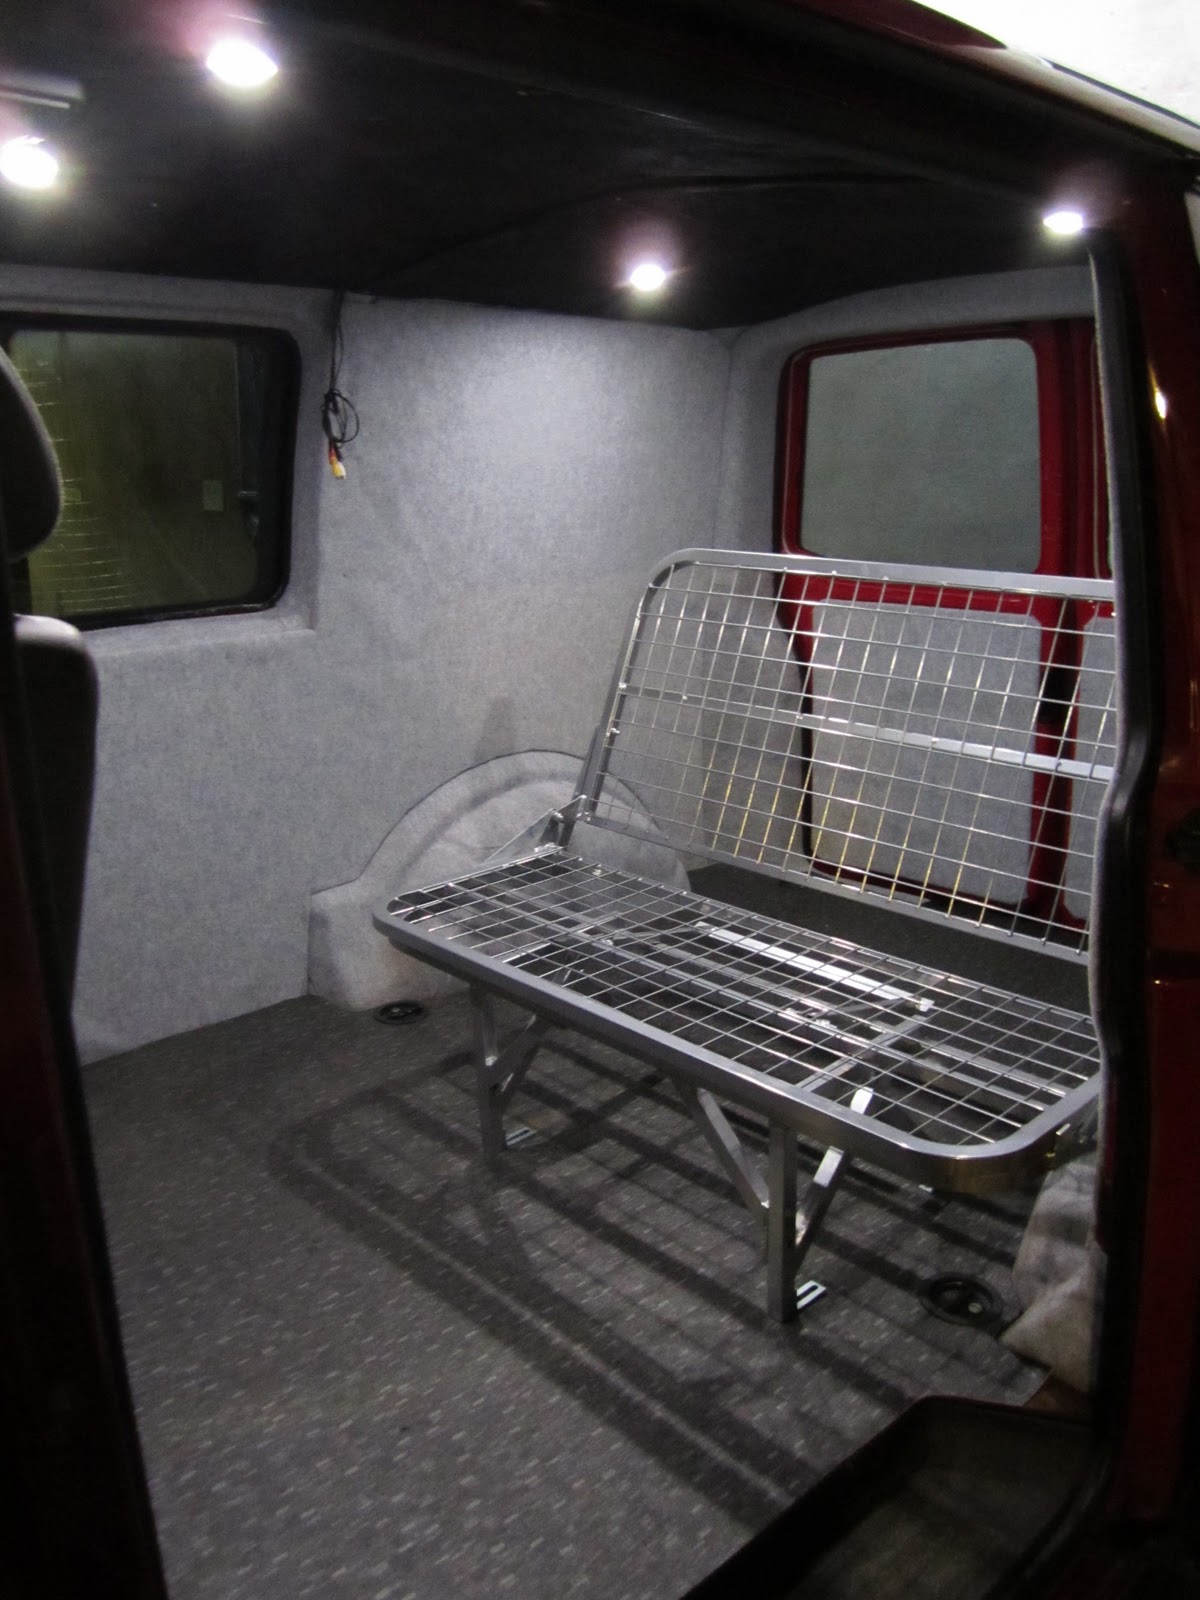
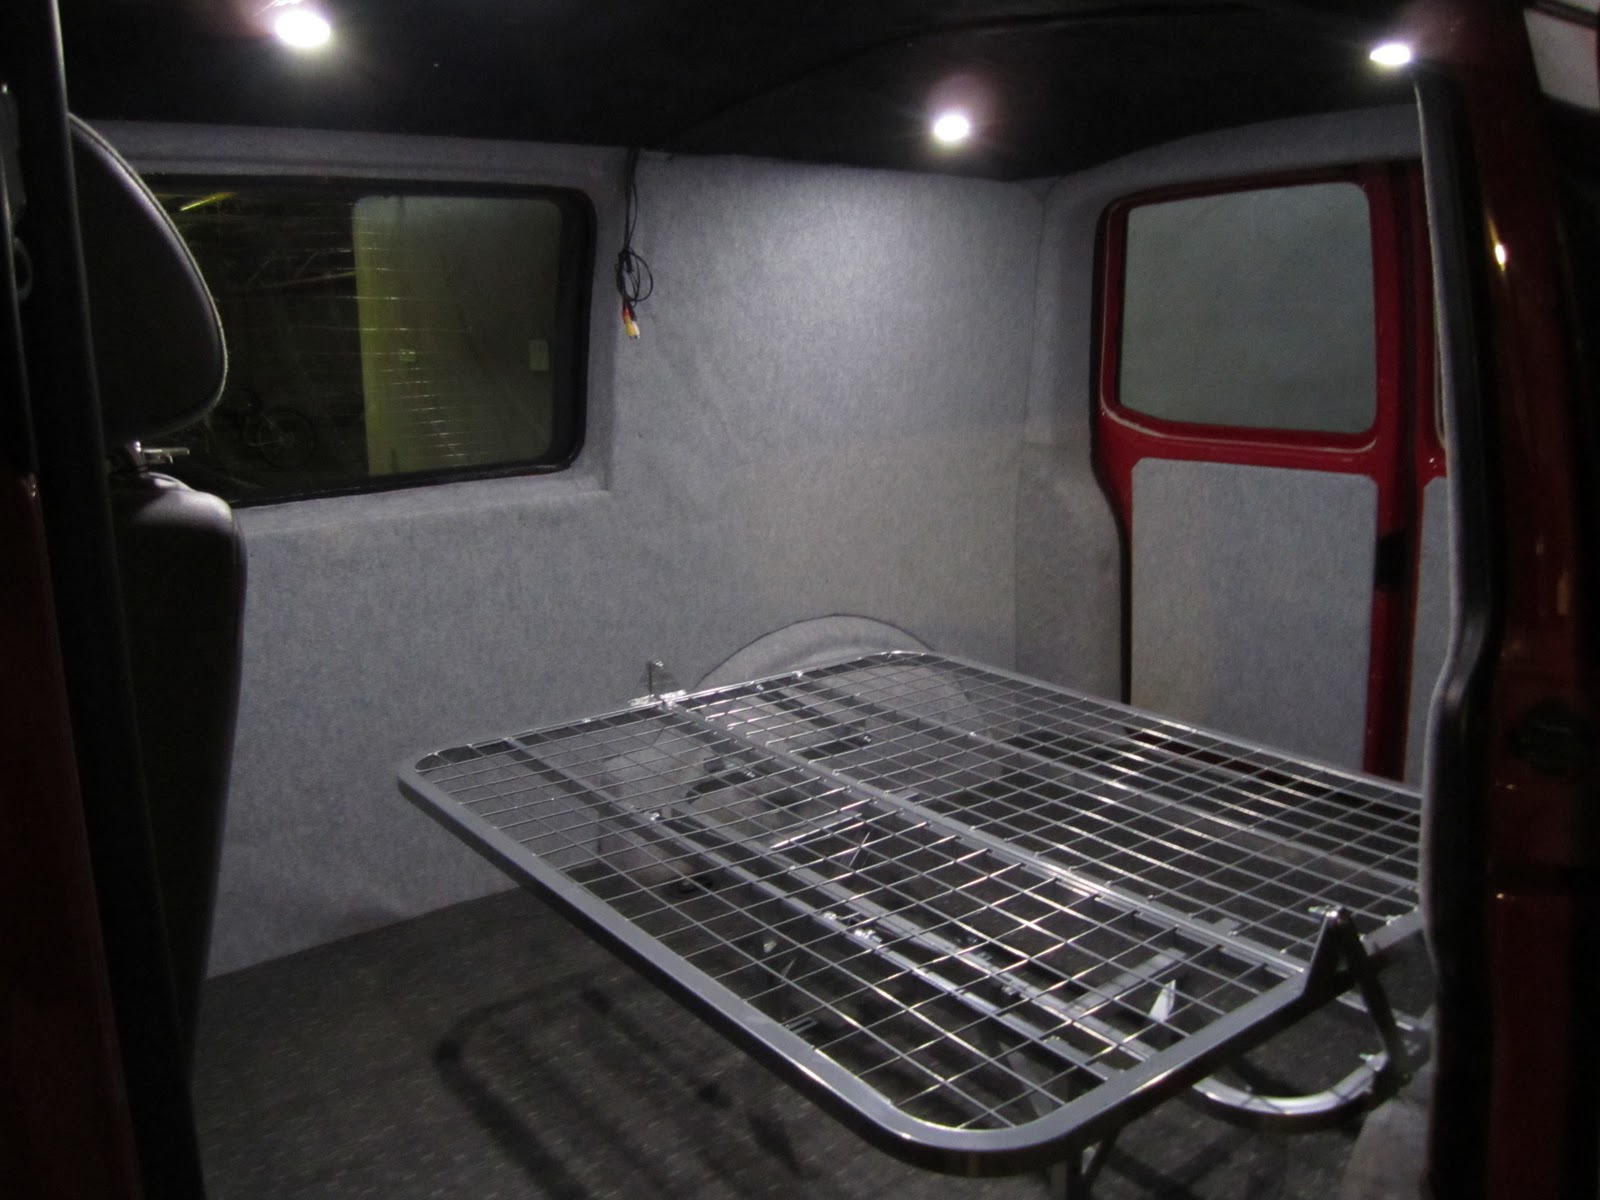
The rear of the van is probably the best it will be and only suffers from occasional resonance due to it still being a large empty space.  The addition of furniture, soft furnishings and other items in the rear will reduce the expanse of flat panels which should reduce noise generation and reverberation substantially. I also plan to have a fitted but removable carpet made with integrated underlay.

So, the focus at present turns to the front of the van and at this point, the front doors.  Doing a simple tap resonance test tells me that the current doors are going to be highly active and, given their large flat nature, will be pretty efficient at transmitting any vibration input that they have.  I decided to put a stop to this with a 2 step approach

1.  Increase the mass of the panel to put the resonant frequency out of range and to employ the use of a material that will absorb some of the energy in the process (Bitumen flashing tape!)
2. Provide heat and sound insulation by using a synthetic wool (loft insulation)

This is a pretty easy job to do the only tools you will need is a torx driver, philips screwdriver and trim removal tool.  First thing to do is to remove the door trim.

1. Pull up and off the handle cover
2. Unscrew the 2 philips screws holding the handle assembly to the door frame (no need to remove the handle)
3. Undo the 4 torx screws (1 in the middle of the door and 3 at the bottom of the door)
4. Remove the window winder by popping the spacer in the opposite direction of the handle
5. Prize carefully the pop fixings and then lift the door card up and off (Remember to unhook the door catch and disconnect any wiring you may have)


After removing the door card I then set about removing the speaker to that I could access the inside of the door.  Once this was done I then put as many pieces of flashing tape that I could onto the door panel and then reassembled the speaker in to the door.  (I do intend on taking the whole metal inner door piece off at some point to really do this job properly)

Next step was to attach the wool to the door so that I could sandwich it between the door card and the door.  I used a very sticky waterproof clear tape used for repairing roofs to attach the wool.


Next step was to reassemble it all.  This was a little tricky because of the pressure of the springy insulation buy only took about 20mins.   Finally I repeated on the other door.

The difference is clear and I only have the cab floor, bonnet and behind the dashboard to do to make my T5 the quietest there is!

Rock n' Roll !

I collected my Rock n Roll bed yesterday from Volkswares in Lichfield.  I have been researching beds for a long while and I decided to go for the bed after viewing it at Dubfreeze the weekend prior.  The attention to detail and careful design attracted me even though this particular design of rock n roll bed requires you to build a platform at the rear.

The people I met at Volkswares were very friendly and I recommend their products.  I will be purchasing their awning connection system next, take a look its really neat.

work in progress

It took me about 45mins to put the bed together but I was really taking my time!  It went together pretty well and didn't require any adjusting once assembled.

the finished item

I am now in the process of deciding how it should fit in the Van.  The key decision to make is to ensure that the length of the bed is correct so that we are comfortable.  Here are some images of me mocking up its position.

upright position

flat position (note how is higher when down)


I intend to mount the bed in such a way that it is easily removable for the times I need for storage space in the van.  To do this I will installing fixing points through the floor to that I can un-screw the bed easily.

view from the driving area


I intend to begin designing and building the rear platform/storage compartment over the next few days and then fixing things in permanently.

Sunday 20 February 2011

Spot Lights and tight spots

Another job I got around to doing was to fit the spot lights in the front.  I thought I'd also show you the car lift that I have to go in and out of everyday.  Regular readers will recall the need for lowering the van.  Heres proof.  Theres about an inch to spare up top and I've have to fold the windows in the get the width down...


Bertha being born
I have'nt wired them in yet but when I do I will share with you how its done.

You've got to keep chipping away

Scruffy looking tie down points

I've been meaning to finish off the rear of the van for a little while.  One benefit of doing little jobs one at a time is that you are more inclined to finish them off properly rather than rush ahead because you have a big stock of stuff that you can't wait to get installed.

I spent an hour or so this week concentrating on finishing off the back of the van, namely, the tie down points.  I got hold of the plastic mouldings from TPS (trade volkswagen parts) for roughly £2 each, they tried to sell me some machined cylindrical spacers but they wanted nearly £6 each for them...  I decided that they were unnecessary given than all I would ever me lashing down would be a mountain bike.

First thing I realised while trying to fit the 'cups' was that the holes in the ply floor were the wrong shape (teardrop rather than circular) so I decided to open them up using my Dremel rather than taking the whole floor out again.  I made a template and got to work.

Dremel'd holes


The keen eyed readers among you will realise that the picture above shows the van before the rear carpeting was finished.  Thats because I did this piece of work while waiting for the 'spline drive' bits to arrive.

spline drive bit set

I got a set off of ebay for about £5 and they were just the job.  It took me a few mins to remove the tie down metal work, give them a clean and re-assemble with the plastic cups.  I think it makes a hell of a difference.

tie-down cup fitted

Saturday 19 February 2011

4000 hits - Thanks for encouragement

Wow 4000 hits now. Thanks for messages, questions and general encouragement.  I'm off to Dubfreeze this Sunday to choose the next items in conversion journey.  I will be updating the blog tomorrow with a few little bits and pieces that I have done this last week.

Cheers!

Sunday 13 February 2011

A bit more carpeting

Don't you just hate it when you start a job, it looks half decent but you haven't quite finished it.  Well I have this situation with the rear carpeting.  I decided to chip away at it tonight and do the carpeting around the rear doors.  I purchased some extra silver carpet from Megavanmats.co.uk and got to work.  This whole  sequence took me 45mins.

Before I started, note the mud on the vinyl from MTBing!


Half way through the job

The combination of good quality spray contact adhesive, some previous experience, very sharp knives, nice stretchy carpet meant that it didn't take long to make a big difference to this otherwise 'tatty' bit of the van


A bit of trimming as I went along

All the way around now

I also decided to trim where the rear doors close for completeness

Ta-Dah


I also plan to carpet more of the rear doors.  Obviously you have to be careful and midfull of the seals otherwise you could end up with soggy carpet.  More on this in a future update.  Next updat will focus on the fitting of the trim pieces to the tie down points.  As you will see they look a bit ugly at the moment - we'll soon sort that out!

Fitting wind deflectors to front windows

This is a really easy job.  I've been after a set of these for a while.  They are practical in that they let you have the window down a bit without the Mrs. hair blowing everywhere and when your sleeping in the back of the van you can have the windows down a bit and still have security.

I sourced these from Ebay, they are made in Poland and seem decent quality.  They are made by a company called Heko.

Heko wind deflectors as they arrive

fitting involved effectively 'jamming' them in an open window frame!

Theres one fitted

Theres the other fitted

Heres how they look with the windows up.
Easy peasy.  I recommend them, they look pretty cool as well.

Number plates and LED Number plate lights

I've had the same number plates on the van since I purchased it last September.  The dealer had just fitted some stickers to them and had not put new plates on.  I've always quite fancied the pressed aluminium plates so I decided to go ahead and get some.

I found plenty of suppliers on Ebay and decided to get the plates with the legal GB font so that I would not attract any attention from the cops.  They arrived in a nicely packaged box with some sticky pads for fitment.

Original plastic plates

Pressed Aluminium plates
I think that they look loads better and are quite a subtle addition to the van.  As you can imagine they were incredibly easy to fit.

To finish them off I got myself some LED lamps to replace the filament bulbs.  I figured that they would look better and more modern than standard warm glow from the standard bulbs.  Removing the standard lamps was pretty straightforward, all you need is a philips screw driver.

pulling out the lens assembly on rear numberplate light

After removing the screws you will need to get your nail or another suitable object to lever out the lens, bulb and connector assembly.  I found that the plastic that retains the contacts broke very easily and ended up having to buy a replacement lens assy from VW TPS.

VW T5 number plate light lens
I got the LED bulbs from Ebay.  Below is a picture of the packet so that you can source them yourselves.  They are T11 39mm LED lamps

VW LED lamp for numberplate

VW LED lamp for numberplate T11 39mm
Fitting the LED bulb is easy, however refitting the lens and bulb assembly is a little tricky and requires some patience.  The design of it is so that the process of fitting makes the electrical contact to make them work.  Therefore if they don't work first time, make sure that the metal contacts are actually making contact and that the metal inside the socket is not corroded.

Before - with filament bulbs

After - with LED bulbs


The project moves on

Its been a couple of weeks since I updated the blog.  During those weeks I have  completed a multitude of small jobs which I will tell you about shortly. I will start with some interior modifications that I have been working when I have had 30mins here and there over the last couple of weeks.

The inside of the van, particularly the dashboard has its fair share of scratches, fair play I guess given it did have a previous life as a plumbers van as far as I can tell.  I had been researching the various ways of sprucing up the interior without making it look like a tarts handbag (my mother taught me that phrase - Hi Mam).  I stumbled upon a material made by 3M know as Di-Noc which is architectural grade adhesive film that is available in a plethora of textures, patterns and colours.  I decided to go with a carbon fibre effect.  Now, I know what you are thinking... thats going to look naff etc. Well I thought that until I saw the stuff for myself!  I previously worked for 6 years in motorsport (F1, MotoGP, WRC etc) so I've seen plenty of things made from carbon fibre - in fact I've designed a few components myself also - so I'm pretty familiar with what the stuff looks like.  The Di-Noc material is very effective with its 3D reflective texture,  I challenge the untrained eye to tell the difference.

The plan was to target a few subtle areas of the dashboard which would have doubly beneficial effect of hiding where there were scratches.


I decided to focus on the strip of trim that runs underneath the glovebox and the corresponding pieces along the dash.  Its pretty easy to remove, just stick your nail in and pull off from the right hand corner.


In order to get the small piece on the left you have to take the end of the dash off (the bit the mates with the door).  This also just pulls off quite easily revealing the  Torx screw that you need to undo to get the  panel off.


You can then take the small piece of trim off.  Its a similar story on the other side of the dash near the headlight controls.


Heres my first ever attempt at 'wrapping' the Di-Noc onto this small piece of trim.  I have to say it is pretty easy.  It has some criss-cross channels on the rear which help prevent bubbles and with a little help of a hair drier and some stretching to get it to mould to the 3D shapes it goes on very easily as you will see.


Small panel that fits to the left of the glovebox panel

Panel from below the glove box prior to fitting

Di-Noc carbon fibre trim on the previously scratched panels

Heres the finished effect.  I am quite proud of myself ! I'd really recommend doing this, Di-Noc is available in lots of different finishes.

view of dash showing Di-Noc carbon trim around the light swtiches


I also did the ashtray/cup holders and the fuse box box cover.  I reckon the whole process took me about 2 hrs and cost me less than £20.  I bought a 1m x 0.7m piece and still have loads left which I will use on some other things as the build progresses

Drinks holder and fuse box

Wednesday 9 February 2011

New update coming this weekend

Hi All

I've been a bit busy recently with a visit down to the big smoke for a shopping trip.  However,  I have had some time this week to do a few things on the Van.

Wind deflectors for the front windows
New pressed Aluminium Number plates
LED number plate bulbs
Di-Noc carbon fibre interior trim

I will share with you how I did the above and also the items I plan to do this weekend which are

Finish off carpeting around the rear of the van by the doors
Fit the tie down point trim pieces
More Di-Noc carbon fibre trim work

Hope you drop by to take a look

Cheers