

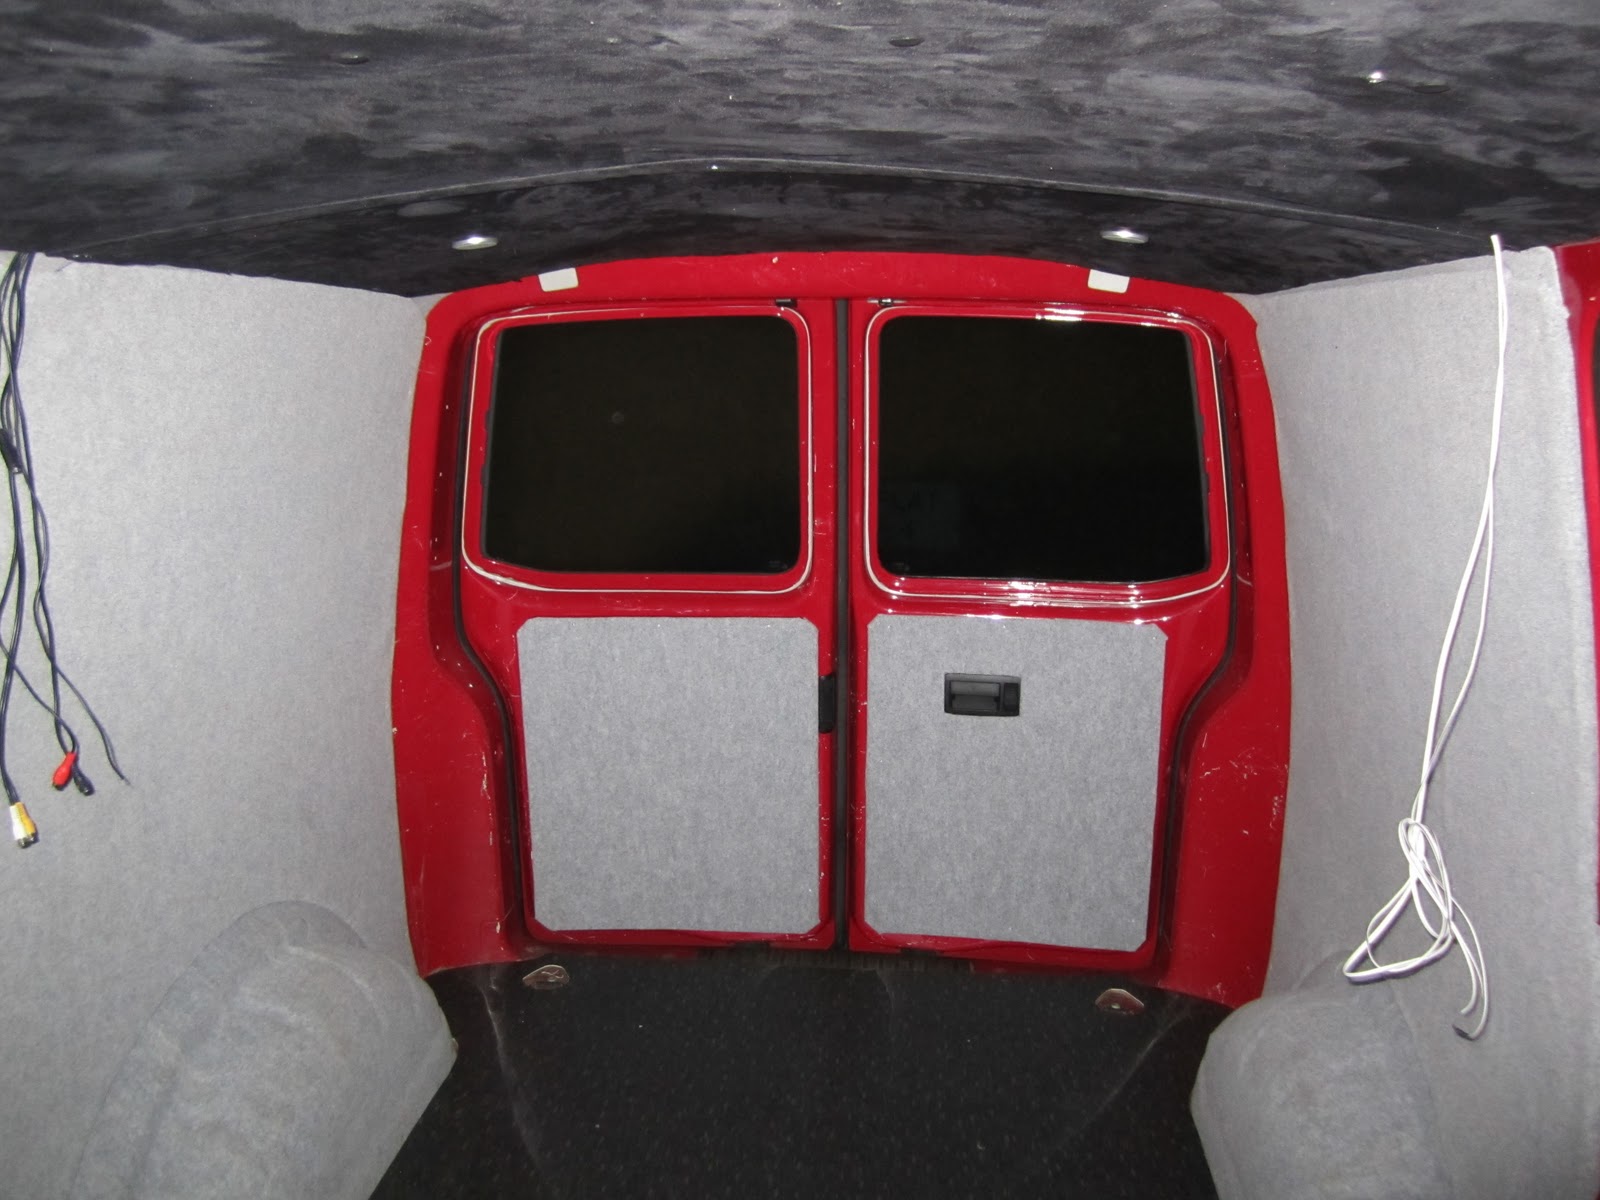
Starting with the the plywood walls I started work on carpeting the interior panels. I used contact spray adhesive - one word - sticky (nightmare to get off your hands, next time I'll wear surgical gloves). I started with the easiest panels, the barn door pieces.
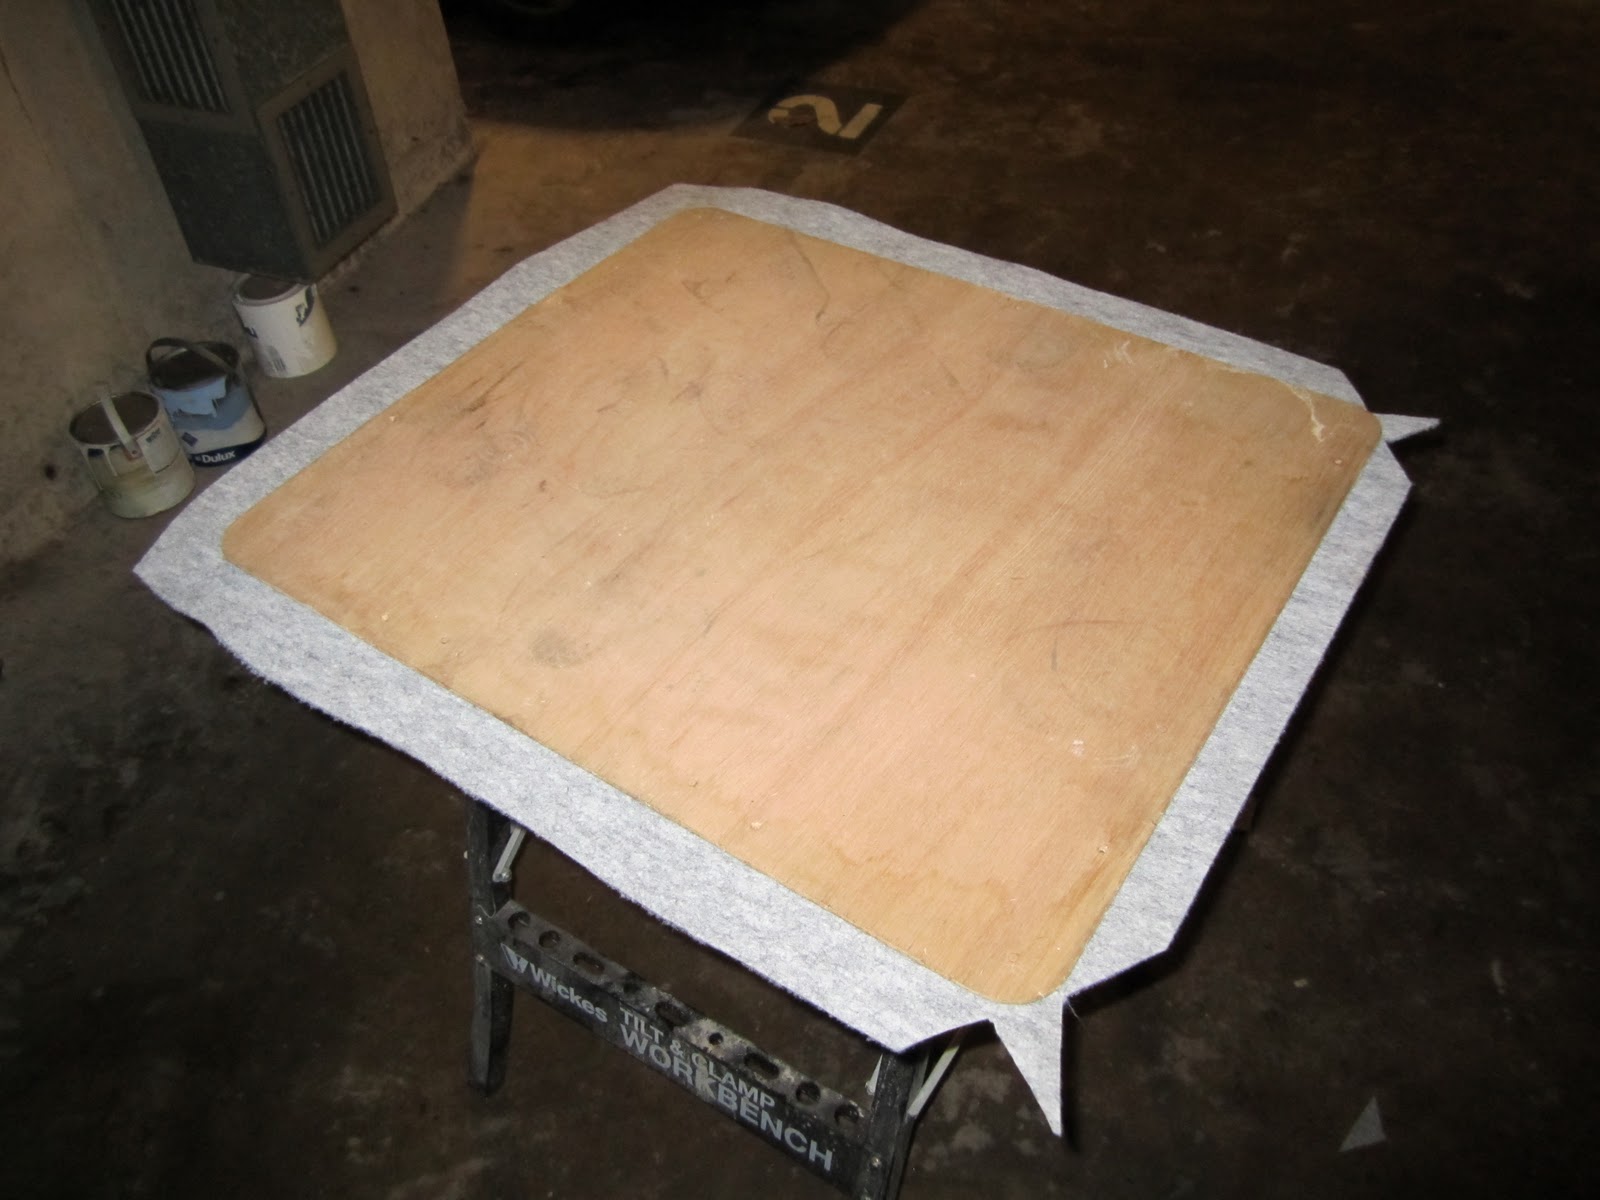
My technique was to cut the carpet roughly to size and then spray both the carpet and the plywood, leave for a minute and then put together. I repeated this with all of the panels and left them all to dry before turning them over and folding over the edges. This task is actualy harder than it seems, I think next time I would staple gun the pieces to the back of the board (providing you can get small staples that won't come through.

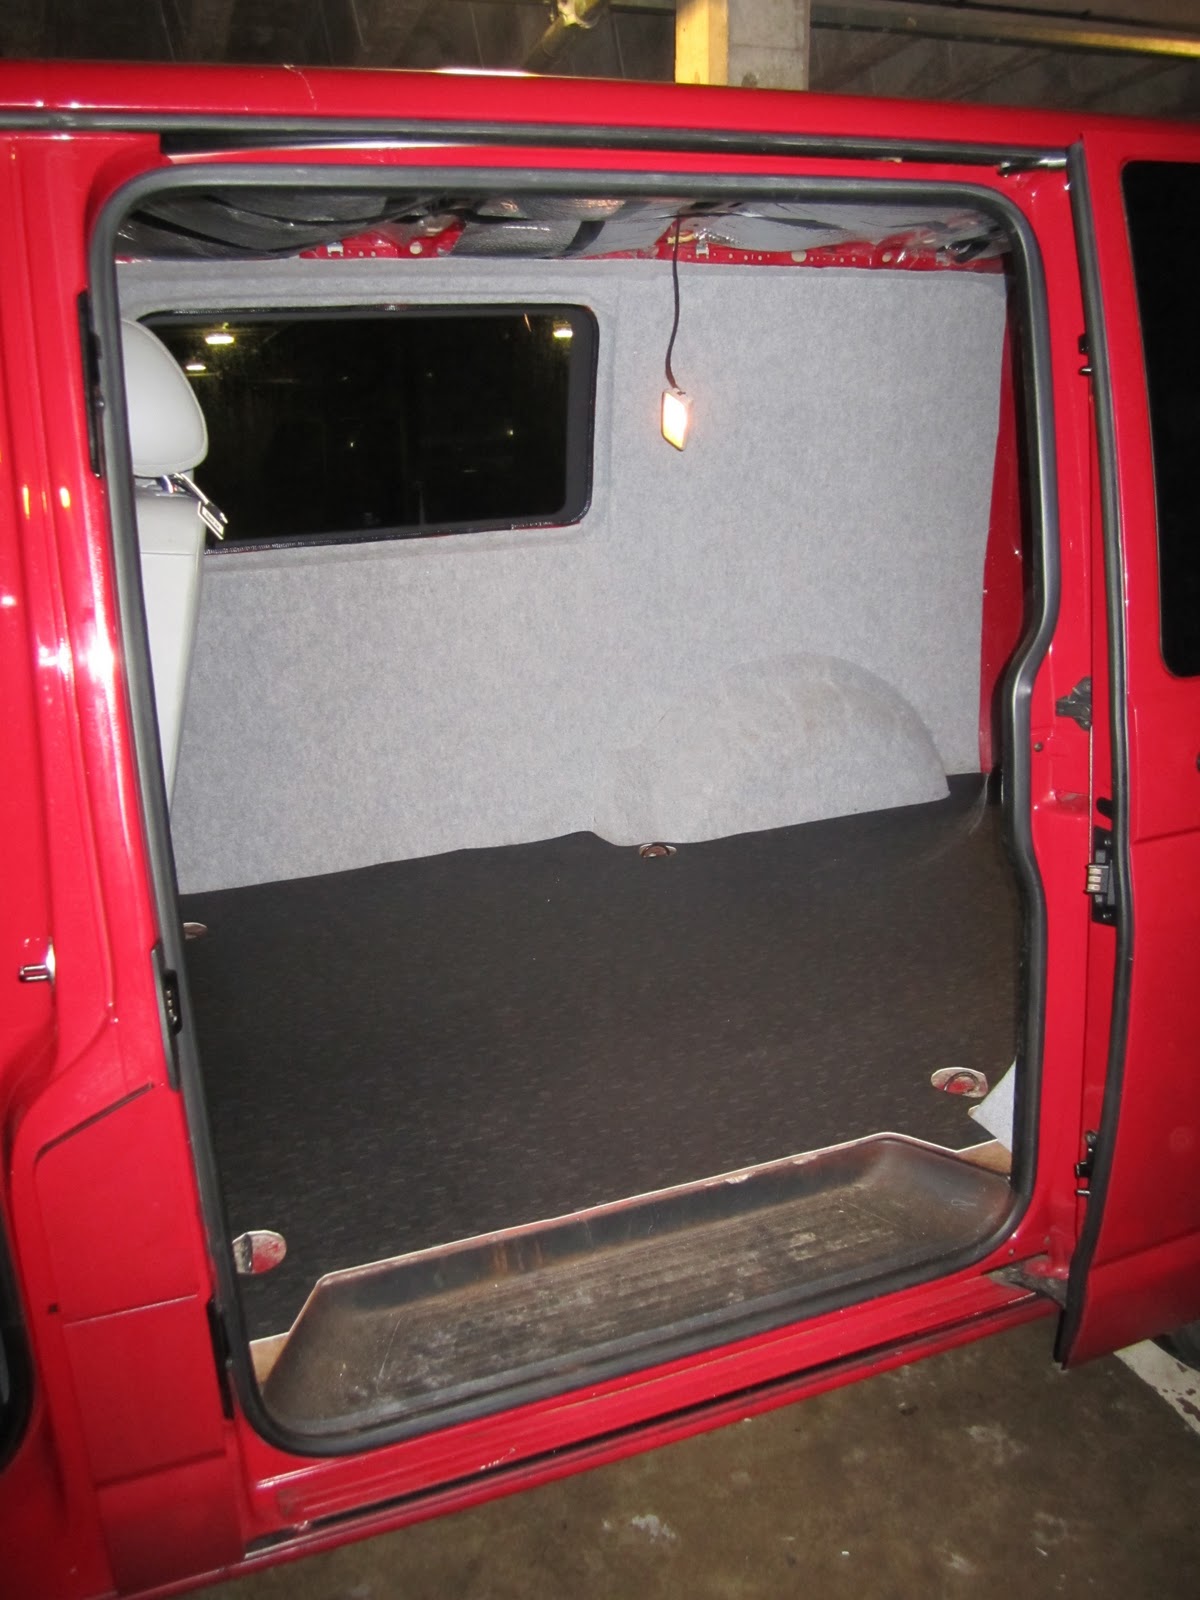
After leaving all of the boards over night (out of necessity as it was getting late on day 1) I then attached the boards to the walls using the original holes and a few extra self tapping screws.

The next job was to do the floor. Mrs Bertha feels the cold quite badly so I have gone over the top with insulation everywhere. The added benefit is that it should cut down road noise, rattles, squeaks and any other noise which I dislike in a vehicle. I layed down a 30-40mm thick layer of natural fibre insulating wool under the plywood flooring. I then screwed down the floor with a number of self taping screws until I was satisfied that the whole thing was stable. The thickness of the insulation material meant that it took quite some effort to pul it down tight. (I also countersunk the screws for obvious reasons)

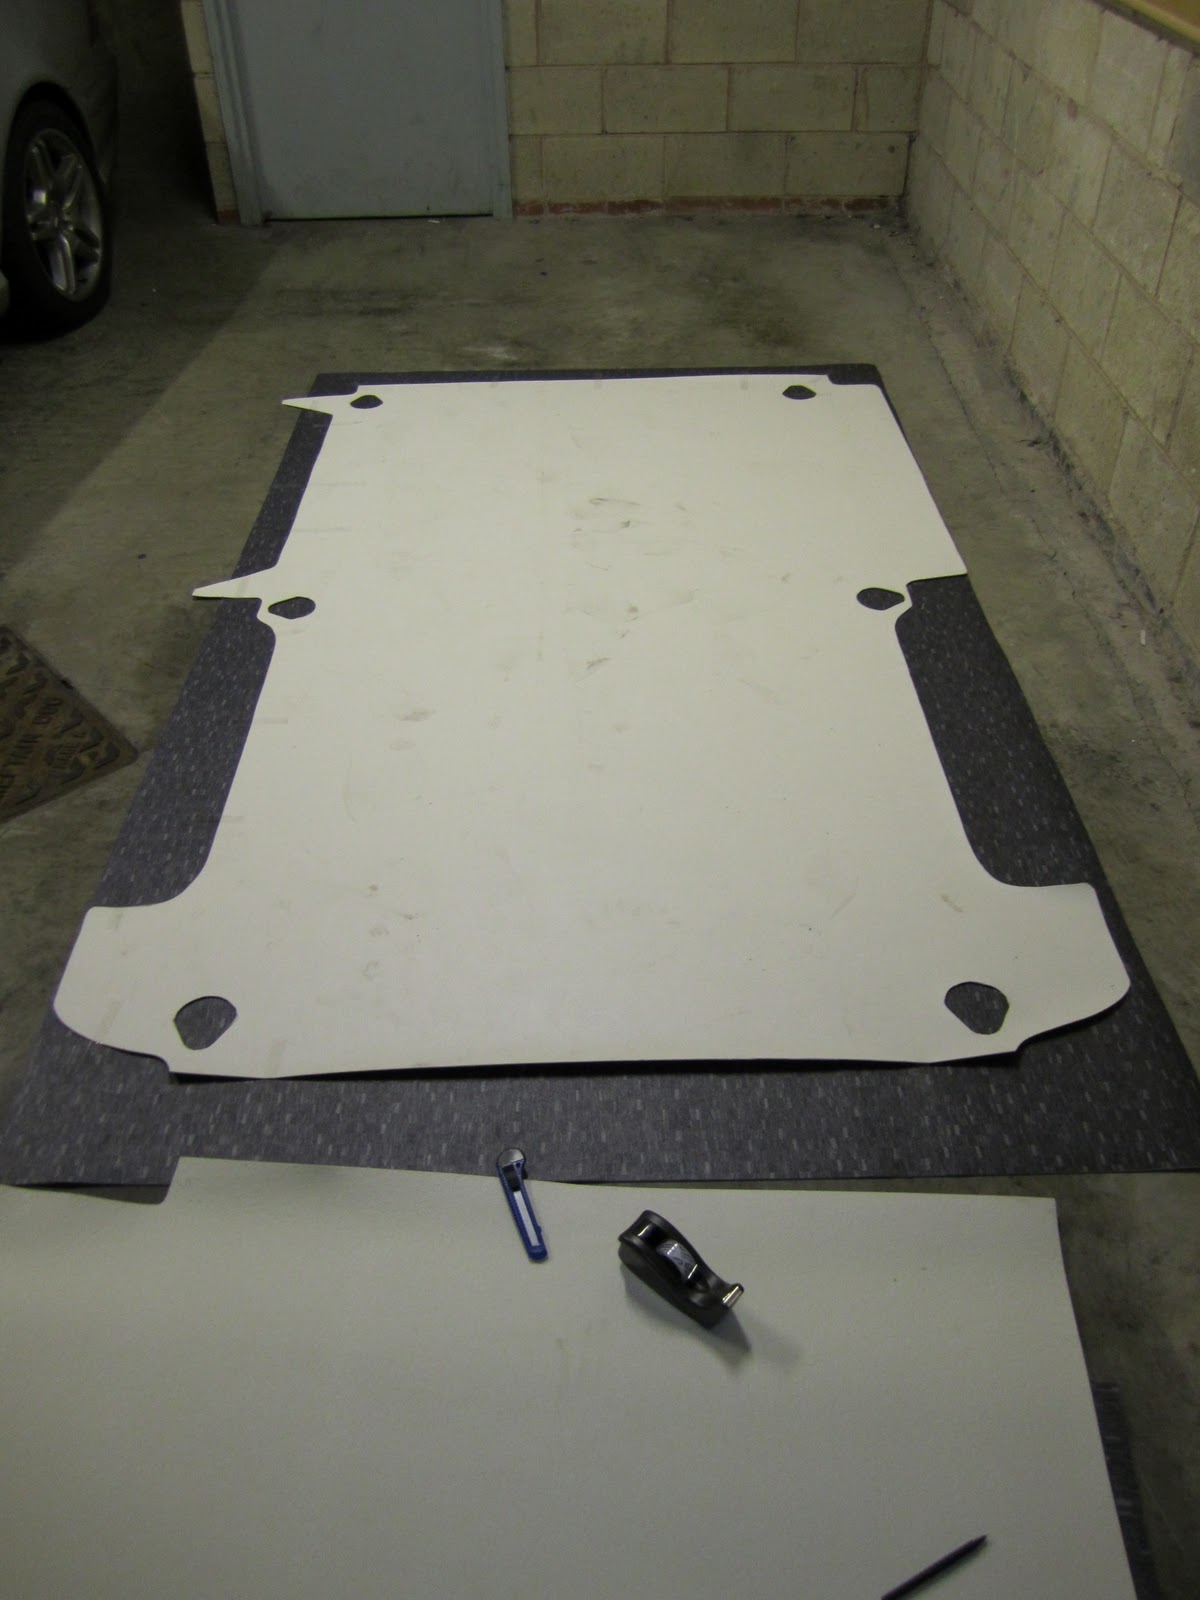
I lovingly arranged the lino and the floor and then traced around using a thin pen. I then proceeded to painstakingly cut the shape out using a selection of craft knives that I bought from the pound shop. I then triumphantly removed the floor and went off and screwed it back in as detailed before. (at this stage I was feeling quite proud of myself to be fair).


The trouble is when I lifted the lino up and carried it to the back of the van my heart sank. NIGHTMARE - I had cut the lino the wrong way around!!!! (No laughing please) Well, there was a happy ending because I went back out to a different shop this time, because I was a bit embarassed, and purchased better quality lino for less money. The lesson to everyone is measure twice, cut once. (yeah alright Dad I should listen more!)


Now it was time to move on to the head-lining. I decided to go for a suede, alcantara-esque look and stumbled upon the perfect material at 'The Range'. It was £5.10 per meter and came in a 1.5m width.
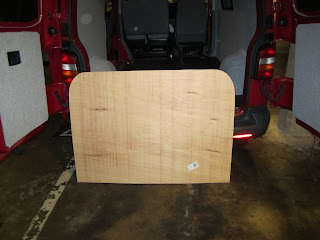
I started this job off by learning from my lesson from before and measuring at least twice, probably more like 10 times before laying out the original head-lining material over the 6mm ply I had decided to use following much research on the forums (T5 Forum and Brickwerks). This was quite an easy job but did require 2 sheets of plywood as the standard size for ply in conveniently just too small. I had to replicate the 2 piece arrangement of the original equipment.

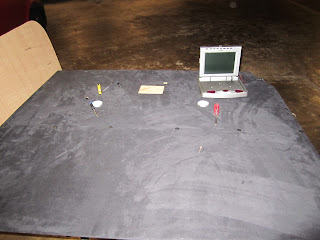
After cutting out the ply with a jig saw I set about drilling the 8mm holes for the fixings. I purchased push fit panel buttons from Halfords for some astronomical fee (£2 for 12 x3) as I wanted to use these as well as self tapping screws. I also fashioned holes for the Ikea Dioder SMD LED lights and also for my 7" flip down TV which I've had kicking about for a long while (used to be in an old kitchen of mine years ago).

Next step was to overlay the material.... Now you would think that I had learnt my lesson by now and would not make a lino type mistake again.... ah no. I stupidly glued the material down to the wrong side. It was late at this point and I just packed up my tools and went smiling back to Mrs Bertha to brighten her day. Again.
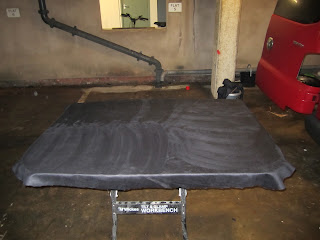
Seriously though I do have some advice for other convertors. the best technique for sticking the material to the plywood is to roll it back halfway (as shown below), spray the wood relatively liberally with good quality adhesive, leave for a few seconds and then roll the material carefully back again and then repeat for the other half. I found this to be a way of completely avoiding bubbles, wrinkles and other horrible things.

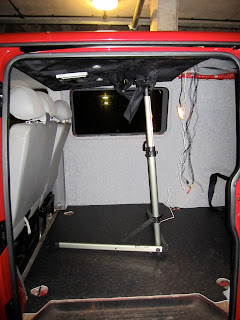
I then mounted the equipment to the panels and begun the task of fitting the now much heavier, much less flexible panels to something that is a tight fit and is above my head by myself. I have been known to do rediculously strenuous things on my own. I once took a sofa bed downstairs on my own and nearly died when it slipped. (I was actually no where near dying but for a second I thought I might be seriously injured).
So you might be curious to know how I mounted this thing. Did I phone a friend? No. Did I ask the audience? No. Did I take a 50:50? No. I used my brain and roped in the support of my bike maintenance stand which has a handy telescopic, quick release effect thus rendering the nightmare job of refitting the head-lining much much easier. Because of the extra stiffness of the 6mm ply I would that I ad to use about 6 self tapping screws to get it to take the curve of the roof. The effort was worth it in the end I think.

In between mounting the second roof panel I carried out the wiring. I've never been adverse to a bit of electrics or electronics so was quite looking forward to this bit. It wasn't without its difficulties however, mainly due to VW refusal to label the fuse properly for the rear lights. For reference, if the power to your rear interior lights is not working, look in the fuse box, in the lower panel there is a normal size 7.5A fuse - check this is not blown and you will avoid a few hours of forum searching.
The wiring of the Dioder lights is pretty simple, there is a permanent live, switched live and an earth. I believe the previous T4 had a switched earth. Another thing to remember is that most T5s (maybe al) have a convenience control module (CCM) which electronically controls dim off, timer off etc etc. Its not a simple switch system. If you want help on this then contact me and Ill help you out.

Well, what a fun few days. The van is now miles quieter and nicer to be in generally and is ready for the next stage of the modifications which is likely to be the cupboards, sink, leisure battery, 240v hook-up, TV/DVD wiring. I also have the smaller job of installing my new Sat Nav power properly and to get the ECOroute HD bluetooth telemetry sorted... very cool.


Cheers and happy new year!

Now it was time to move on to the head-lining. I decided to go for a suede, alcantara-esque look and stumbled upon the perfect material at 'The Range'. It was £5.10 per meter and came in a 1.5m width.
I started this job off by learning from my lesson from before and measuring at least twice, probably more like 10 times before laying out the original head-lining material over the 6mm ply I had decided to use following much research on the forums (T5 Forum and Brickwerks). This was quite an easy job but did require 2 sheets of plywood as the standard size for ply in conveniently just too small. I had to replicate the 2 piece arrangement of the original equipment.


After cutting out the ply with a jig saw I set about drilling the 8mm holes for the fixings. I purchased push fit panel buttons from Halfords for some astronomical fee (£2 for 12 x3) as I wanted to use these as well as self tapping screws. I also fashioned holes for the Ikea Dioder SMD LED lights and also for my 7" flip down TV which I've had kicking about for a long while (used to be in an old kitchen of mine years ago).


Next step was to overlay the material.... Now you would think that I had learnt my lesson by now and would not make a lino type mistake again.... ah no. I stupidly glued the material down to the wrong side. It was late at this point and I just packed up my tools and went smiling back to Mrs Bertha to brighten her day. Again.
Seriously though I do have some advice for other convertors. the best technique for sticking the material to the plywood is to roll it back halfway (as shown below), spray the wood relatively liberally with good quality adhesive, leave for a few seconds and then roll the material carefully back again and then repeat for the other half. I found this to be a way of completely avoiding bubbles, wrinkles and other horrible things.


I then mounted the equipment to the panels and begun the task of fitting the now much heavier, much less flexible panels to something that is a tight fit and is above my head by myself. I have been known to do rediculously strenuous things on my own. I once took a sofa bed downstairs on my own and nearly died when it slipped. (I was actually no where near dying but for a second I thought I might be seriously injured).
So you might be curious to know how I mounted this thing. Did I phone a friend? No. Did I ask the audience? No. Did I take a 50:50? No. I used my brain and roped in the support of my bike maintenance stand which has a handy telescopic, quick release effect thus rendering the nightmare job of refitting the head-lining much much easier. Because of the extra stiffness of the 6mm ply I would that I ad to use about 6 self tapping screws to get it to take the curve of the roof. The effort was worth it in the end I think.


In between mounting the second roof panel I carried out the wiring. I've never been adverse to a bit of electrics or electronics so was quite looking forward to this bit. It wasn't without its difficulties however, mainly due to VW refusal to label the fuse properly for the rear lights. For reference, if the power to your rear interior lights is not working, look in the fuse box, in the lower panel there is a normal size 7.5A fuse - check this is not blown and you will avoid a few hours of forum searching.
The wiring of the Dioder lights is pretty simple, there is a permanent live, switched live and an earth. I believe the previous T4 had a switched earth. Another thing to remember is that most T5s (maybe al) have a convenience control module (CCM) which electronically controls dim off, timer off etc etc. Its not a simple switch system. If you want help on this then contact me and Ill help you out.

Well, what a fun few days. The van is now miles quieter and nicer to be in generally and is ready for the next stage of the modifications which is likely to be the cupboards, sink, leisure battery, 240v hook-up, TV/DVD wiring. I also have the smaller job of installing my new Sat Nav power properly and to get the ECOroute HD bluetooth telemetry sorted... very cool.


Cheers and happy new year!


