Thursday, 18 August 2011

Sound proofing - an obsession illustrated with pictures!

Having spent a lot of time sound proofing the back of the van earlier on in the project my attention turned to the cab area.  I used by iphone to identify areas of high noise (db meter app) and decided that a good start would be the dashboard. 

The general guidance with any sound insulation is that the first step is to block sound and the second step is to absorb the sound.  With this in mind I diassembled the dashboard as much as I could by taking off all of the access panels and by removing the glove box.  Having done this I then added flash band tape to the plat surfaces to reduce resonance and provide some absorption for the high frequency noise.

While the panels were removed I used some synthetic fibre wool to fill the voids behind the dashboard to provide some sound absorption.


After replacing the glovebox I lined the inside of it with flashband tape.


This item is the tray from the top of the dash, as you can see I added flashband tape to lower its resonant frequency and to provide some damping.


I stuffed this cavity full of wool, taking care not to interfere with the electrical harnesses and steering system.


Sound system

Its been a while since I have updated what I have been doing.  I have been doing quite a lot... so here goes.


Heres a view of the interior withe seat fitted.  Its amazing when I look back at the humble plumbers van I first purchased in August 2009 and see what can be achieved with a bit of elbow grease!


I decided that the sound system fitted in the van was no where near good enought so I went to Loughborough and purchased a new Alpine CD single DIN and a set of 4 'fly' speakers to replace the standard door speakers and also to install into the rear of the van.


Fitting the fly speakers in the doors was pretty straight forward.  I purchased the appropriate adaptors and they simply dropped in.  I connected them up via the supplier crossover system and hey presto all was done.


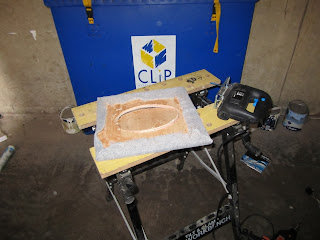
I decided that the 6*9s would work best mounted in the rear seat/bed base and so set about cutting the apertures to fit them.  This was a really straightforward job as the speakers came with the appropriate templates.


Heres a finished speaker.  I was quite pleased with the result.


I will add a better picture of the interior in due course.